
Property turnover is one of the biggest profit drains for Philadelphia rental property owners. Every day a unit sits vacant costs money, while rushed turnovers often lead to tenant complaints and costly do-overs. The key is having a systematic approach that gets properties move-in ready quickly without cutting corners on quality.
After helping hundreds of Philadelphia property owners streamline their turnovers, we’ve identified the five essential steps that consistently deliver fast, reliable results. Follow this proven framework, and you’ll transform your turnover process from a stressful scramble into a smooth, predictable operation.
Step 1: Address All Repairs and Safety Issues First
Before anything else happens, every repair and safety issue must be resolved. This isn’t just about tenant satisfaction: it’s about legal compliance and avoiding costly delays down the road.
Start with a comprehensive walkthrough, documenting every issue from major system failures to minor cosmetic problems. In Philadelphia’s older housing stock, common issues include:
- Plumbing leaks and water damage
- Electrical problems (especially in pre-war buildings)
- HVAC system malfunctions
- Window and door hardware issues
- Wall damage from nail holes to larger repairs
- Flooring problems including loose tiles or damaged hardwood

Prioritize safety-critical items first. Any electrical, plumbing, or structural issues that could pose a risk must be addressed immediately. Philadelphia’s rental licensing requirements are strict, and failing to address safety concerns can result in violations that delay your ability to rent the property.
For efficiency, group repairs by trade. Schedule all electrical work together, all plumbing repairs together, and so on. This minimizes the number of contractor visits and reduces coordination headaches.
Don’t forget Philadelphia-specific requirements, such as smoke detector compliance, lead paint disclosures for properties built before 1978, and any recent updates to the city’s rental property regulations. Getting these details right from the start prevents delays later in the process.
Step 2: Schedule Professional Deep Cleaning
Once repairs are complete, professional cleaning is non-negotiable. This isn’t the time to save money with DIY cleaning: professional services work faster, more thoroughly, and deliver the spotless results that help properties rent quickly.
A proper turnover cleaning should include:
- All surfaces were wiped down and sanitized
- Appliances cleaned inside and out
- Floors deep cleaned (carpet shampooing, hardwood polishing, tile scrubbing)
- Bathrooms thoroughly sanitized
- Windows cleaned inside and out
- Light fixtures and ceiling fans cleaned
- Baseboards, door frames, and trim are detailed
- Cabinet interiors cleaned
- All trash and debris removed
Schedule cleaning immediately after repairs are finished but before the final inspection. This sequence prevents clean surfaces from getting dirty during repair work and ensures everything is pristine for prospective tenants.
Professional cleaners familiar with rental turnovers work efficiently and know what tenants expect. They also typically guarantee their work, so if something isn’t perfect, they’ll return to fix it at no additional cost.
The investment in professional cleaning pays off through faster rentals and higher-quality tenants who appreciate move-in-ready properties.
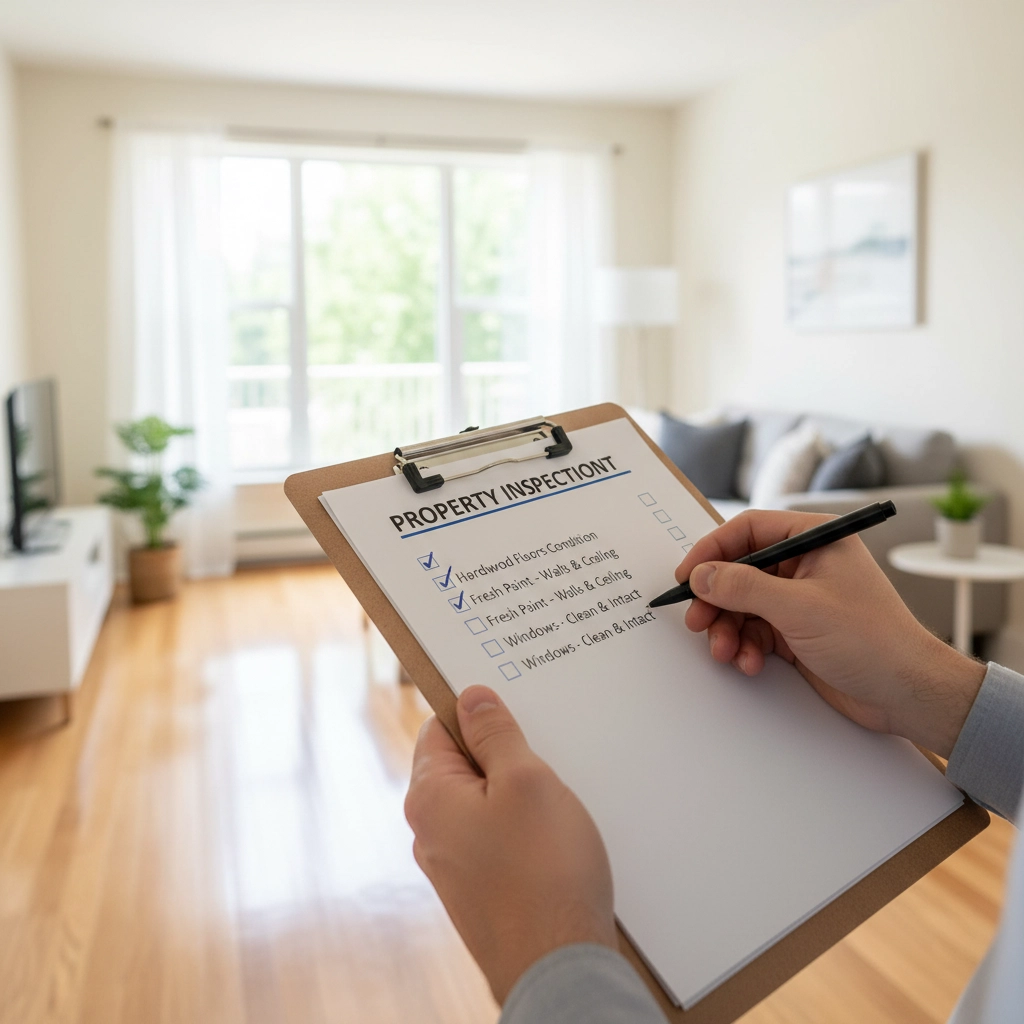
Step 3: Create and Complete a Detailed Move-In Inspection Checklist
Your move-in inspection checklist is your protection against future disputes and your roadmap for quality control. This document needs to be thorough, accurate, and legally sound.
A comprehensive checklist should document:
Interior Spaces:
- Wall conditions (paint, holes, scratches, stains)
- Floor conditions (carpet wear, hardwood scratches, tile damage)
- Ceiling conditions (water stains, cracks, paint issues)
- Window and door functionality
- Light fixtures and electrical outlets
- Appliance conditions and functionality
- Cabinet and closet conditions
- Bathroom fixtures and conditions
Systems and Safety:
- HVAC system operation
- Plumbing functionality
- Electrical system operation
- Smoke and carbon monoxide detectors
- Security systems if applicable
Exterior Areas (if applicable):
- Porch or balcony conditions
- Yard or garden areas
- Parking spaces
- Storage areas
Use specific, descriptive language rather than vague terms. Instead of “good condition,” write “no visible scratches or dents” or “minor scuff marks on baseboard near front door.” This precision prevents misunderstandings later.
Take photos or video to supplement written documentation. Visual evidence is invaluable if disputes arise during move-out.
Complete this inspection personally or have a trusted team member handle it. Never skip this step: the few hours invested upfront can save thousands in disputed charges later.
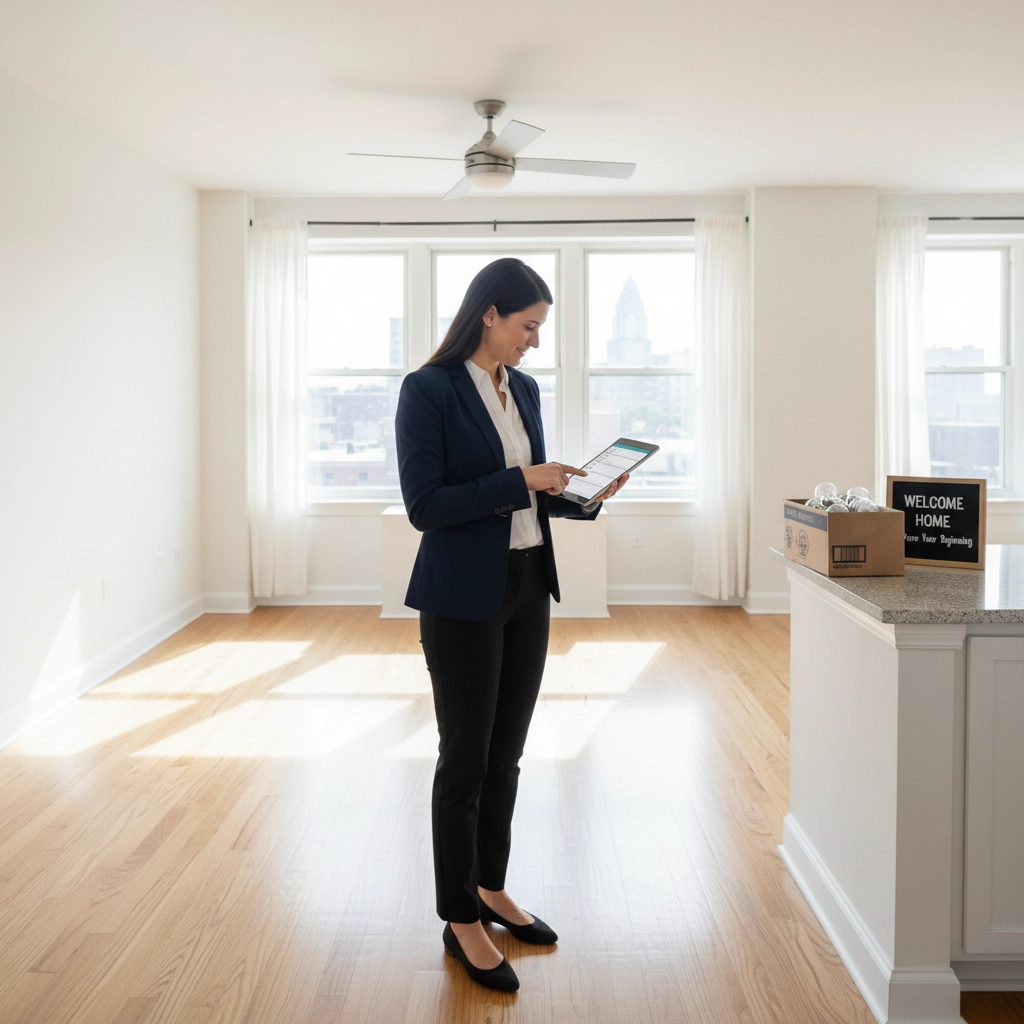
Step 4: Set Up Utilities and Prepare Property Information
Utility coordination can make or break your timeline. Start this process early, as some Philadelphia utility companies require advance notice for service transfers or new connections.
Essential Utility Coordination:
- Confirm water and sewer service transfer or setup
- Verify that the electric service is active and transferred properly
- Ensure gas service is connected and functioning
- Check that the internet/cable infrastructure is ready
- Test all utility connections before tenant move-in
Prepare Your Tenant Welcome Package:
This package should include everything tenants need for a smooth move-in:
- Property manager contact information
- Emergency contact numbers
- Rent payment instructions and preferred methods
- Property-specific information (breaker box location, water shut-off, HVAC filter details)
- Building rules and regulations
- Parking information and restrictions
- Trash pickup schedules and guidelines
- Local area information (nearest grocery stores, public transportation, etc.)

Security Preparations:
Change all locks and provide new keys. This is both a security measure and a fresh start for new tenants. Provide at least two sets of keys: one for daily use and one as a backup.
If the property has any security systems, garage door openers, or special access codes, ensure they are reset and that new information is provided to tenants.
Property Maintenance Setup:
Leave clear instructions for basic property maintenance, including:
- How to request repairs or maintenance
- Which issues are tenant responsibilities vs. landlord responsibilities
- HVAC filter replacement schedules and procedures
- Any seasonal maintenance reminders
Step 5: Final Preparations and Documentation
The final 48 hours before move-in are critical for ensuring everything goes smoothly. This is when attention to detail makes the difference between a seamless transition and last-minute problems.
Final Quality Check:
Conduct one last walkthrough 24-48 hours before the tenant moves in. Check that:
- All repairs are completed and meet quality standards
- Cleaning is perfect, and nothing was missed
- All utilities are functioning properly
- Keys work in all locks
- Appliances are clean and operational
- The move-in checklist is accurate and complete
Lease Documentation:
Have all lease documents prepared and organized:
- Signed lease agreement
- Move-in inspection checklist ready for tenant signature
- Receipt forms for security deposit and first month’s rent
- Any required Philadelphia rental disclosures
- Tenant welcome package with all relevant information
Move-In Day Coordination:
Confirm the move-in appointment with tenants 24 hours in advance. Provide your contact information for any last-minute questions or delays.
Schedule the move-in walkthrough to happen after tenants have had a chance to see the property but before they start unpacking. This timing ensures the inspection reflects the actual condition you’re delivering.
Security Deposit and Payment Collection:
Collect all required payments before or during the move-in process. Have receipt forms ready and provide copies to tenants immediately.
Post-Move-In Follow-Up:
Plan to check in with new tenants within the first week. This proactive approach helps identify any missed issues early and demonstrates professional property management.
Transform Your Turnover Process Today
Following these five steps consistently will dramatically reduce your turnover times while improving tenant satisfaction and protecting your investment. Most Philadelphia property owners who implement this system see their average turnover time drop from 2-3 weeks to just 5-7 days.
The key is treating each step as essential, not optional. Cutting corners might save a day or two upfront, but it often costs weeks in delays, tenant complaints, or legal issues.
Ready to streamline your property turnovers? C&A Property Services specializes in fast, reliable turnover services that get Philadelphia properties move-in ready quickly. Our experienced team handles everything from repairs and cleaning to inspections and documentation, so you can focus on growing your portfolio while we handle the details.
Contact C&A Property Services today to learn how we can transform your turnover process and maximize your rental income. Your properties (and your peace of mind) deserve professional management that delivers results.
Leave a Reply